The magic of ocean by a magician in Photoshop
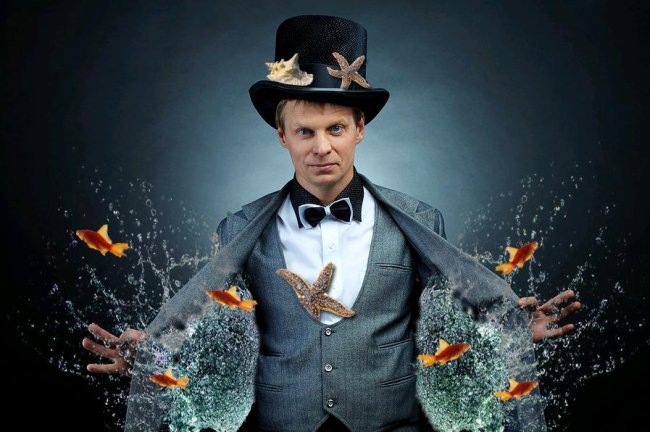
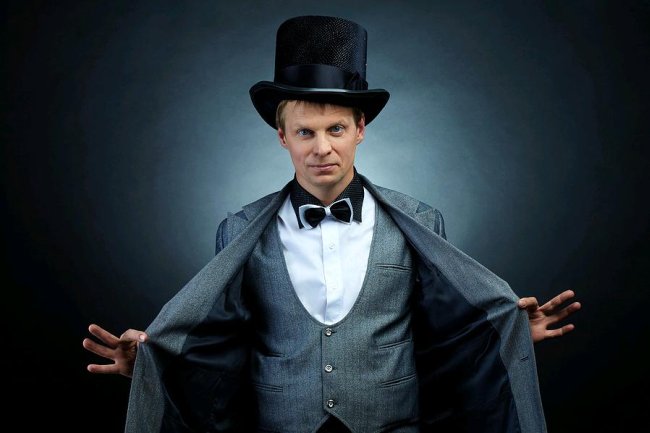
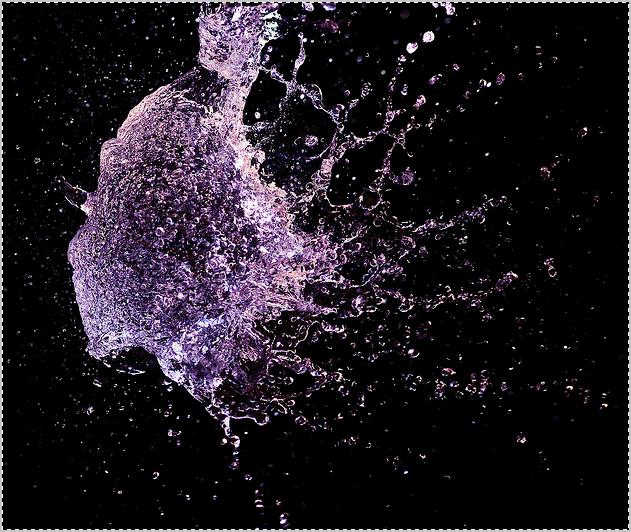
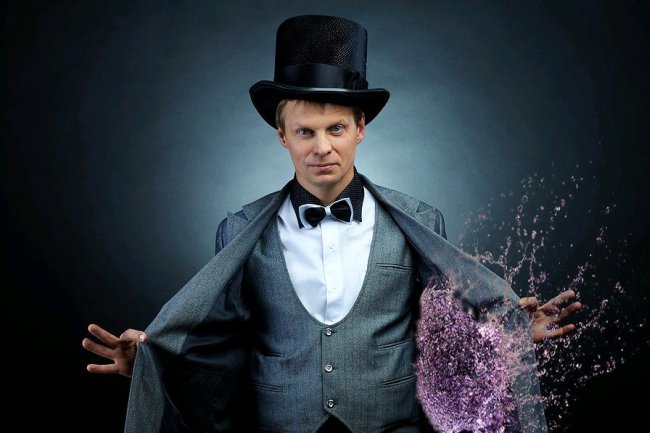
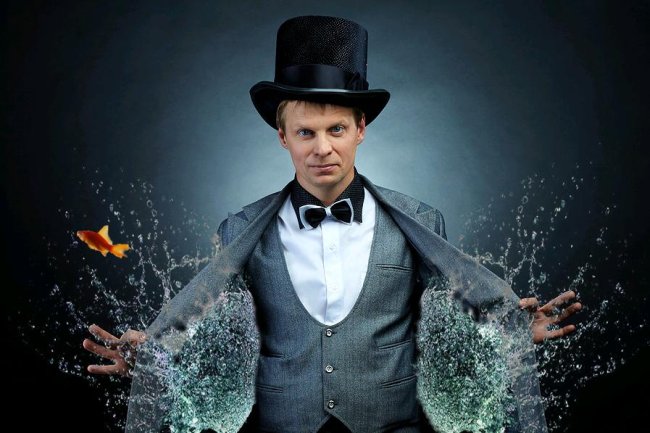
Hello People! Are you in the mood to create some magic today? Well I am. However, let’s not be traditional about it; let’s create something unique and funny. How about creating the magic of ocean out of a magician’s pockets? Sounds interesting, no? I know it does, so before you bring your magic wand out let’s just see what are the ingredients for this magical image of ours. First of all we’ll need a magician (an image of course) which I’ve taken from bigstock, an image of water splash from flikr (rights are reserved to the owner) some gold fish, one star fish from bigstock and a shell and with all these our Photoshop.
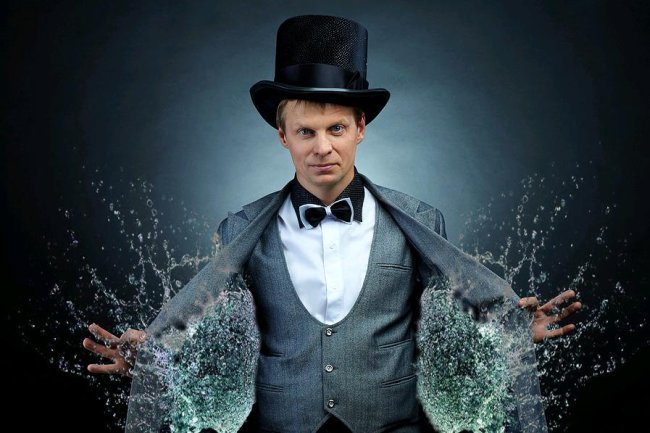
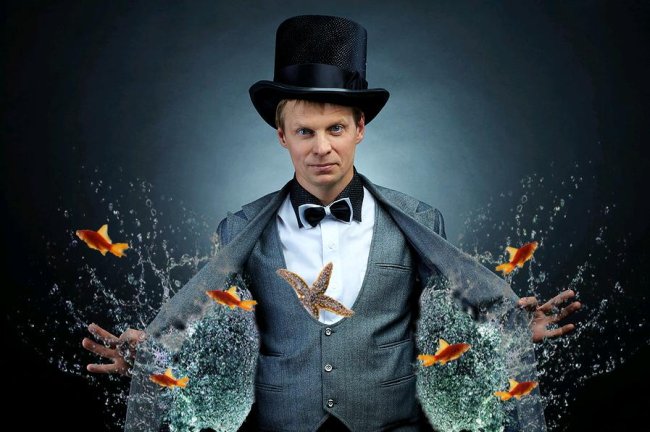
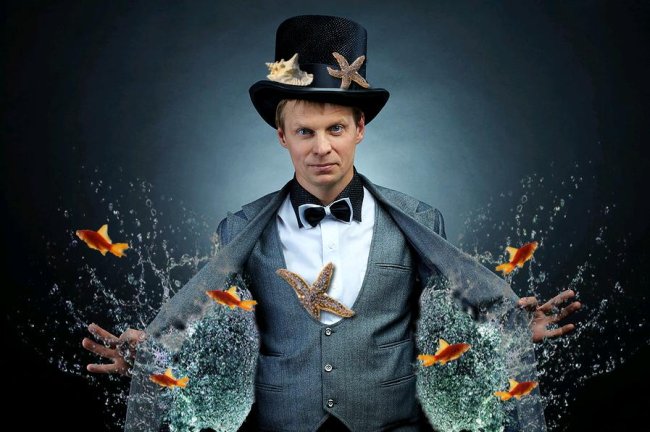
Have a look at the finished image before going ahead.
Step1:-
Open up the magician image and make it a layer by double clicking on it.
Step2:-
Open the image of the splash and copy the complete image.
Step3:-
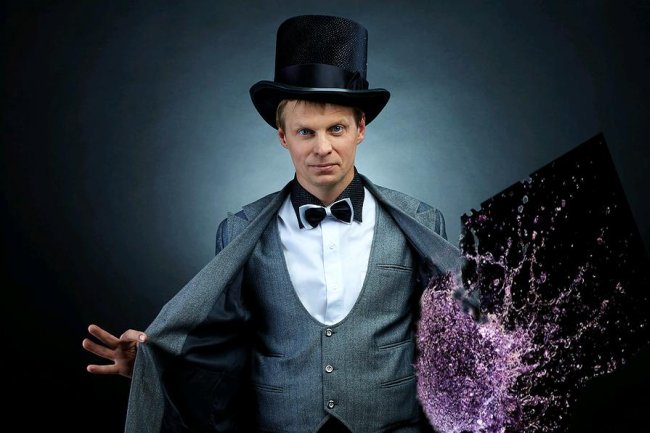
Paste the splash image on our magician background and place it with the help of Move Tool according to the picture shown below. Re-size it by pressing Ctrl+t.
Step4:-
Set the Blend Mode of this splash layer to Exclusion and leave the Opacity to 100%.
Step5:-
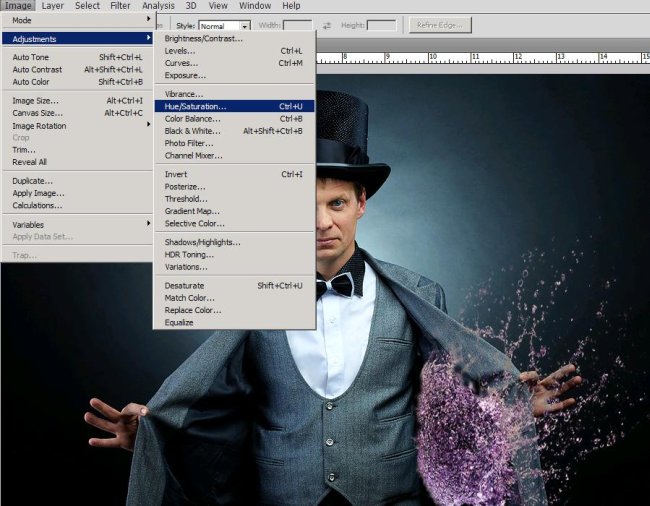
Now we are going to change the color of the splash to make it matching to the picture behind. Go to Image >adjustments and select Hue/Saturation.
Step6:-
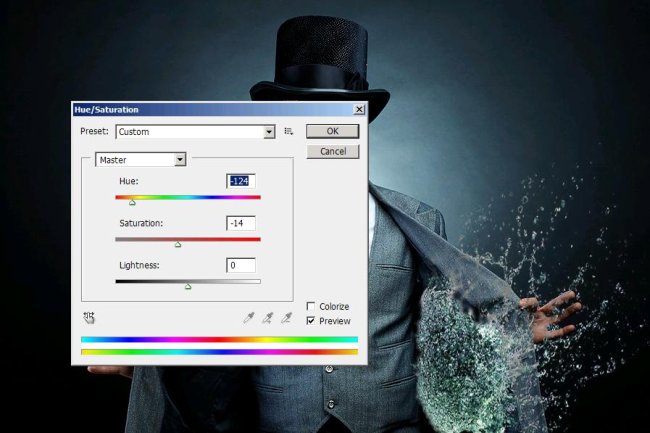
Set the Hue/Saturation according to the picture given below
Step7:-
Now repeat the process and add another splash to the left side of our magician and change its color too.
Step8:-
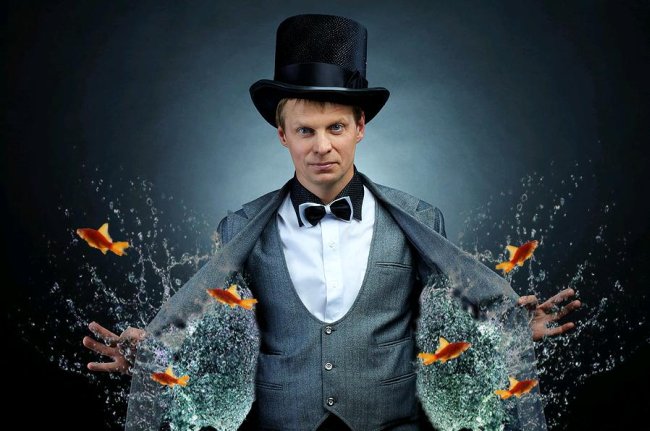
Now open up the image of gold fish, cut it out of its background and paste it on our image (as shown below). Reduce the fish layer’s Opacity to 87% to make its color more subtle.
Step9:-
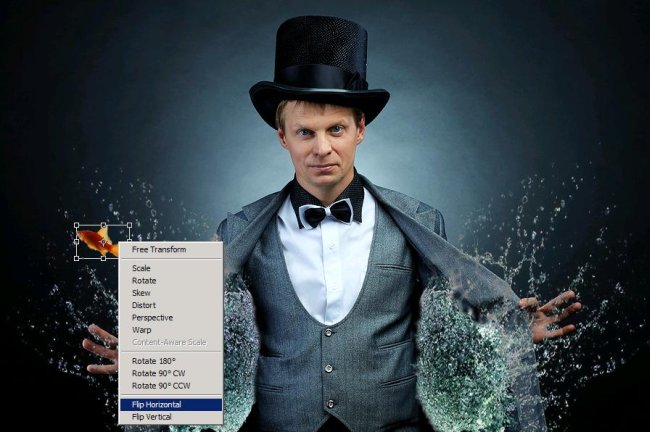
Duplicate the layer, press Ctrl+t to select and Right click on it then choose Flip horizontal.
Step10:-
Place the flipped copied image on the right side of our magician. Add 4 more fish, 2 on each side more.
Step11:-
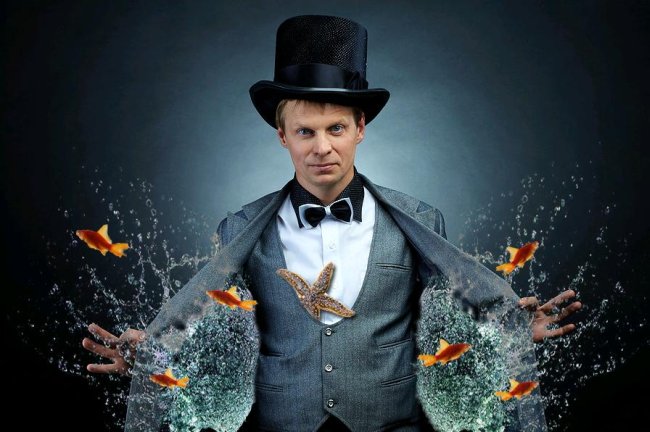
Open the star fish image and cut it out and paste it on the magician. Place it in a way that it looks like it’s coming out of his waistcoat. Remove the extra arms using Eraser Tool.
Step12:-
Now we will add drop shadow to it. Right click on the starfish layer, go to Blending Options in drop down menu and check on Drop Shadow.
Step13:-
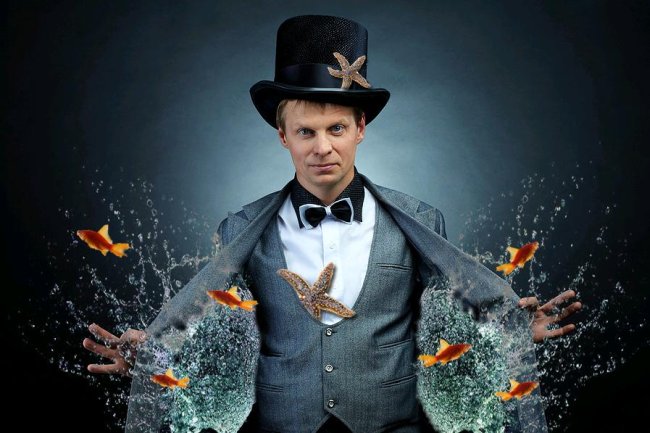
Add another star fish to the man’s hat repeating the same process of step 11 and 12.
Step14:-
Finally we are going to add a sea shell on the hat with the star fish so open the image of the shell cut it out and paste it on the hat.
There you go. Your oceanic magic is complete. Hope you had fun and enjoyed making it. Do share your side of the story. I’ll be back with another exciting tutorial for you, till then be creative and be funny, Chao.


