Coloring a white rose in Photoshop
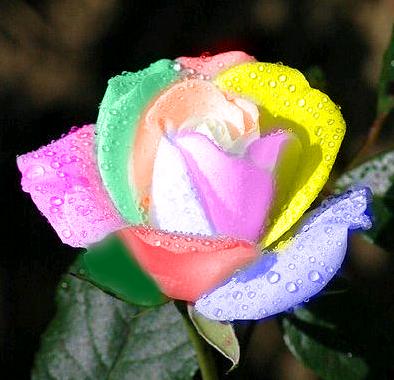
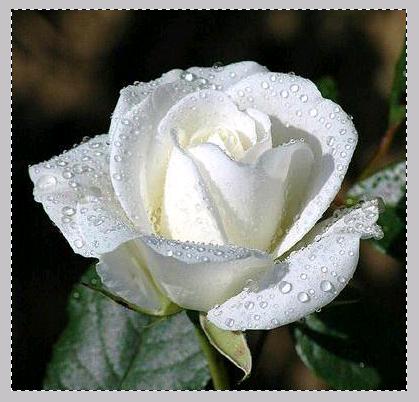
Hi friends! Today we are going to play with various colors and Make a unique rose with each petal in different color (sounds good no?). Okay first thing first, we’ll need a white rose, which I have taken from Google Images, so all the rights are reserved to owner, with that all we need is our very own Photoshop.
Take a look at the finished image before starting with the tutorial.
Step1:-
Go ahead and make a new document of size 396×382 pixels and leave it empty.
Step2:-
Open up the picture of white rose and select the whole image using Rectangle Marquee Tool.
Step3:-
Copy the image and Paste it on our background.
Step4:-
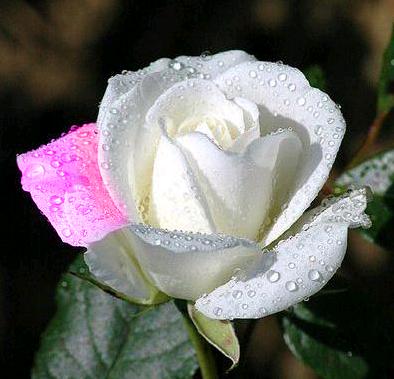
Now create a new layer and choose a soft round brush of size 25px with color #ff00ff and paint it over a petal as shown in the picture below.
Step5:-
Set the layer’s Blend Mode to Color and leave the Opacity to 100%.
Step6:-
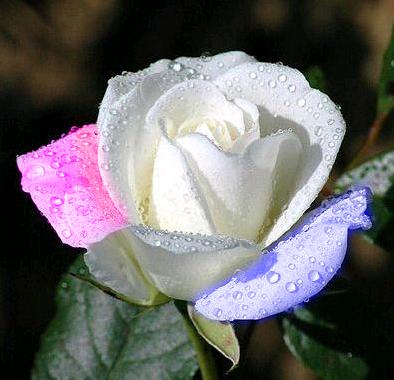
Repeat the process of step 4 and 5. But this time choose the blue color #0000ff for 2nd petal.
Step7:-
Now keep on repeating the same process and choose a different color for each petal (make a new layer for each painted petal) and set the Blend Mode of each layer to Color, leaving the Opacity to 100%. I’ve use green color #007236, yellow color #ffff00, red color #ed1c24, dark blue color #1d1665, orange color #f26522, dark red color #9e0c10, mauve color #92278f, purple color #630460 and dark green color #025e21. Now you’ll have an image similar to the one given below.
There you go; your multicolored unique rose is complete. You can change or experiment with various colors and shades. Do share your side of story. Tha


