How to create Abstract Explosion in Photoshop
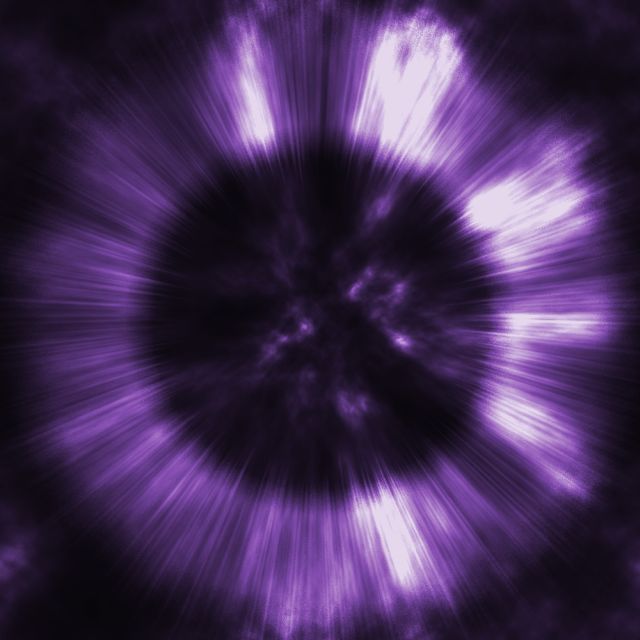
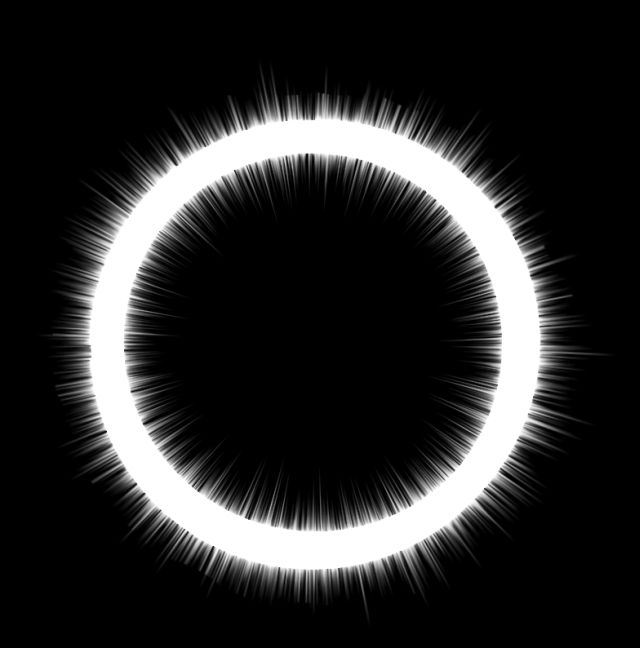
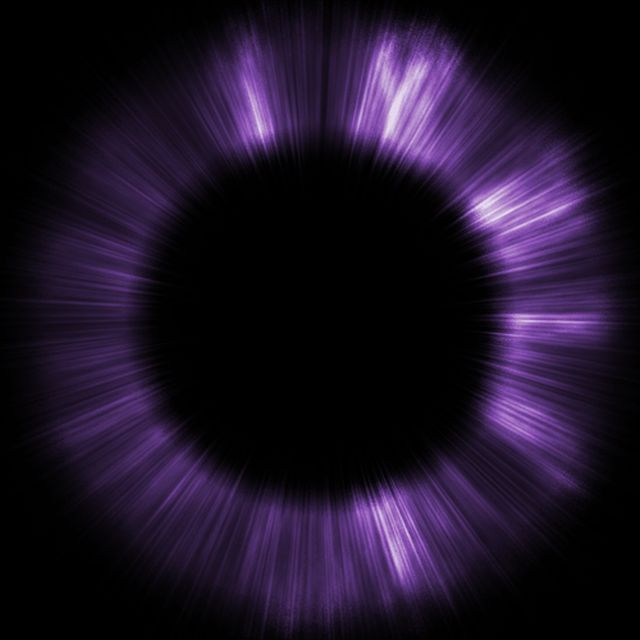
In this tutorial, we will learn how to create crazy effect, abstract explosion in Photoshop. Just follow few easy steps with me and you will be able to create something like what displayed below.
Step – 1:
First, create a new document of 1000 X 1000 pixels.
Then fill it with black color by clicking edit>>fill>>Black.
Step – 2:
Now click Layer >> New Layer to create a new layer.
Then select Marquee Tool (Rectangular) and create selection, which should be similar to as shown in the screenshot.
Also fill it with color white.
Step – 3:
If the selection is still shown then remove selection by clicking Ctrl+D.
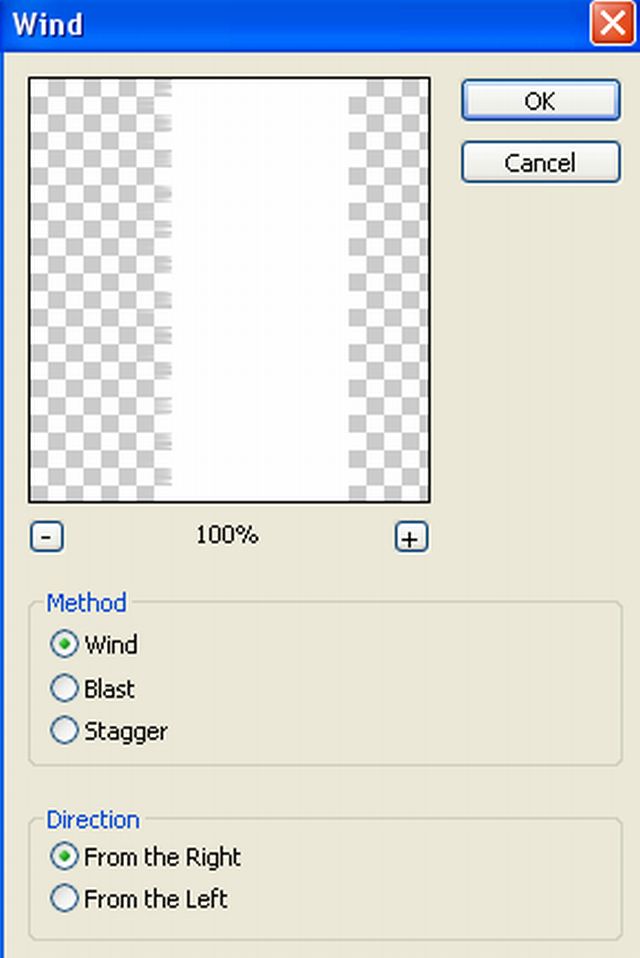
Then you need to apply filter as: Filter >> Stylize >> Wind as shown in the screenshot.
Step – 4:
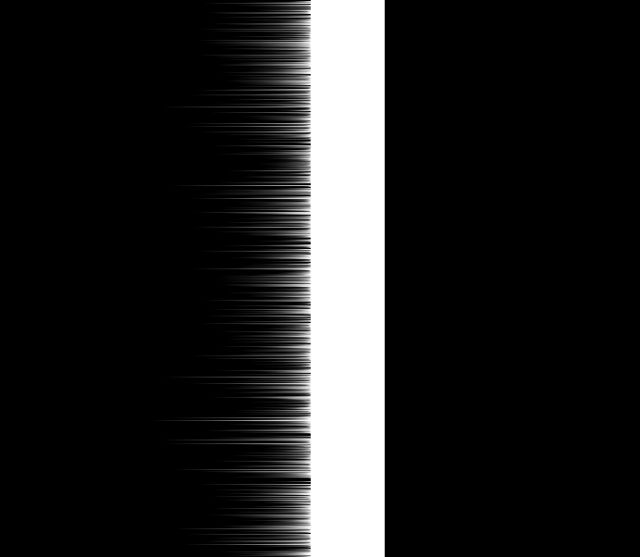
Now to increase this filter effect twice, press / hold Ctrl+f two times.
You will notice a change like the one shown in the screenshot.
Step – 5:
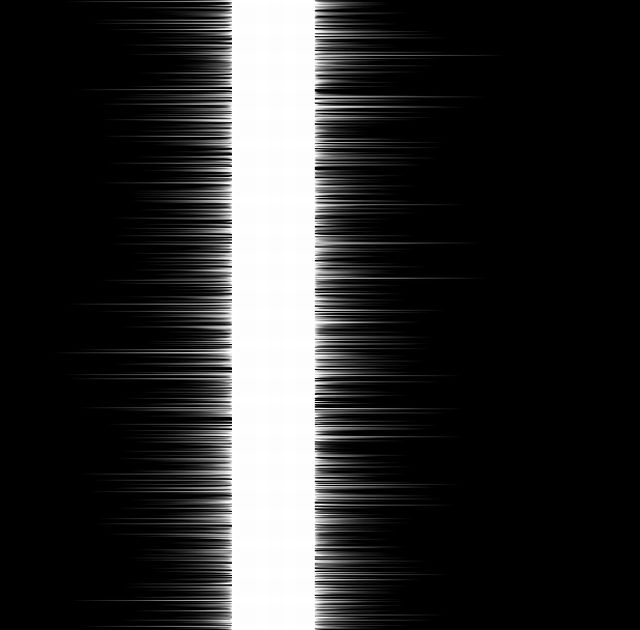
We shall apply the filter again. Select Filter >> Stylize >> Wind, but now change the direction “from the left” unlike earlier that we’ve chosen “from the right”.
Now to increase this filter effect twice, press / hold Ctrl+f two times.
You will notice a change like the one shown in the screenshot.
Step – 6:
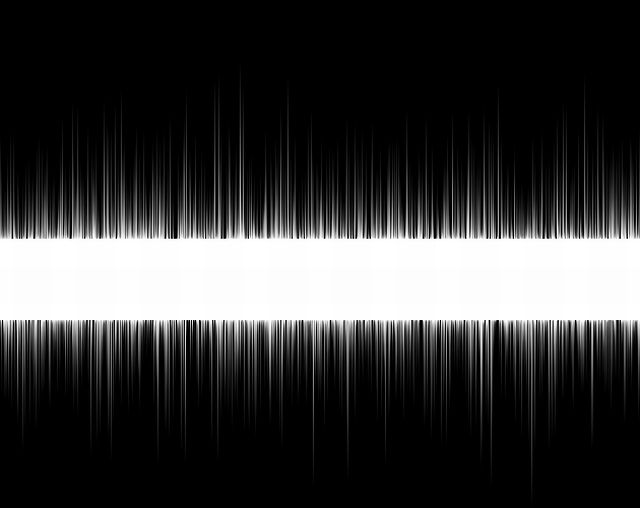
Let’s rotate this horizontally by clicking Edit >> Transform >> Rotate 90° CW.
Step – 7:
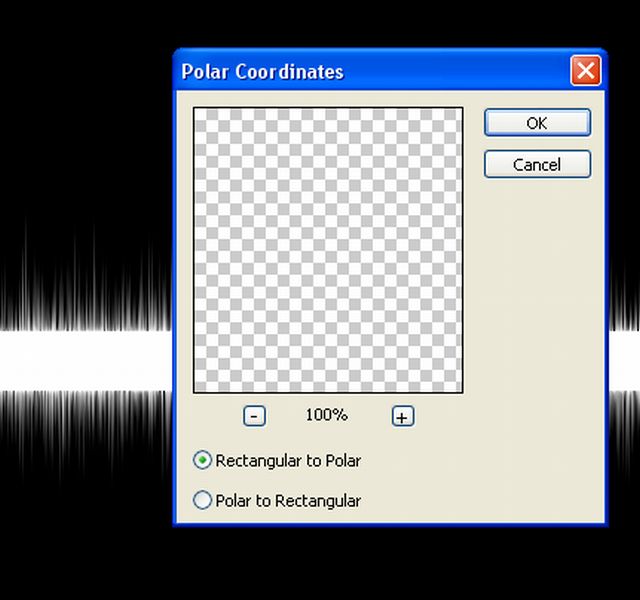
Now let’s apply another filter. Add filter by clicking F
Step – 8:
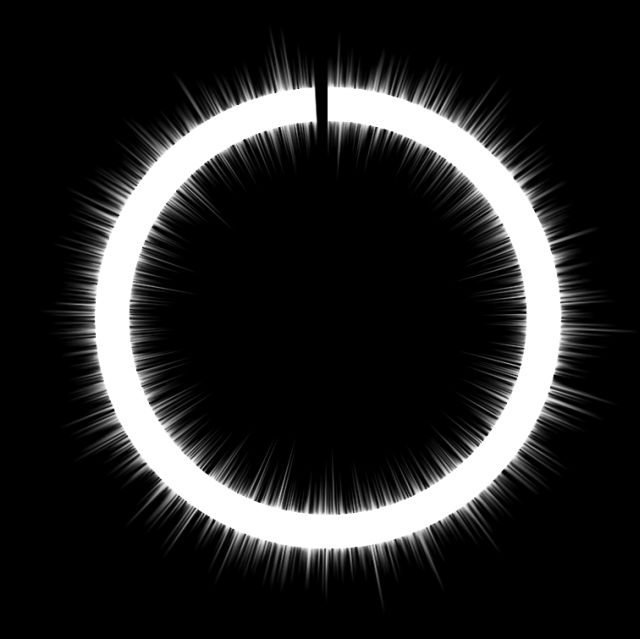
You should have something now like this one. Notice a gap in the upper part. We shall fill it by creating full circle.
To create that:
1. Duplicate current layer by clicking layer>>duplicate layer (ctrl+j).
2. Rotate duplicated layer by clicking Edit >> Transform >> Rotate 90° CCW.
Step – 9:
Now, in this step, select Eraser Tool with 300 px and remove content on current layer leaving the hole part.
Step – 10:
Merge duplicated layer with another layer (original one) by clicking layer, now merge down ‘Ctrl plus E’, from menu.
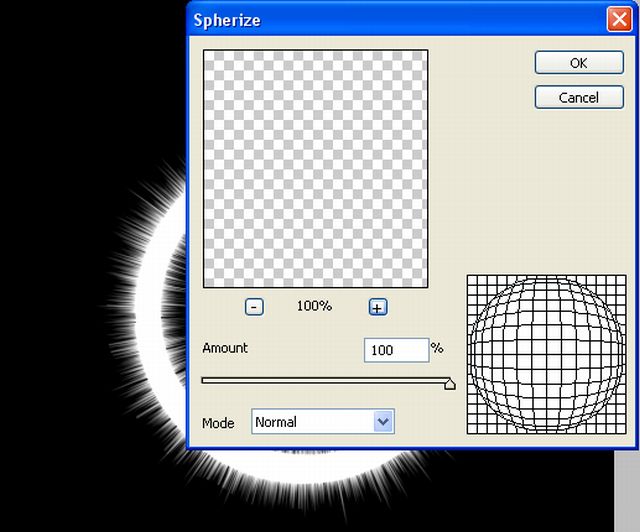
Now apply Filter >> Distort >> Spherize.
Step – 11:
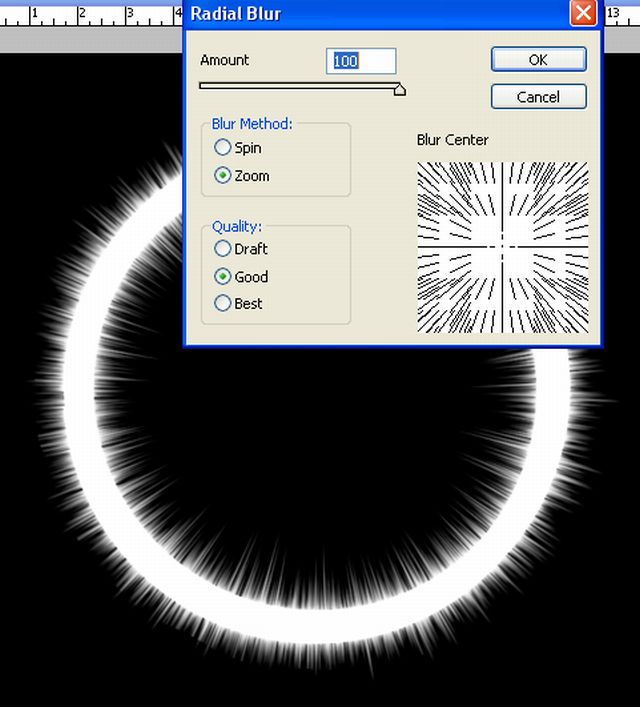
After then, apply Filter then go to Blur and select Radial Blur.
Use settings as shown in the screenshot.
You should have something like this after applying radial blur filter.
Step – 12:
Let’s create background to add explosion effect.
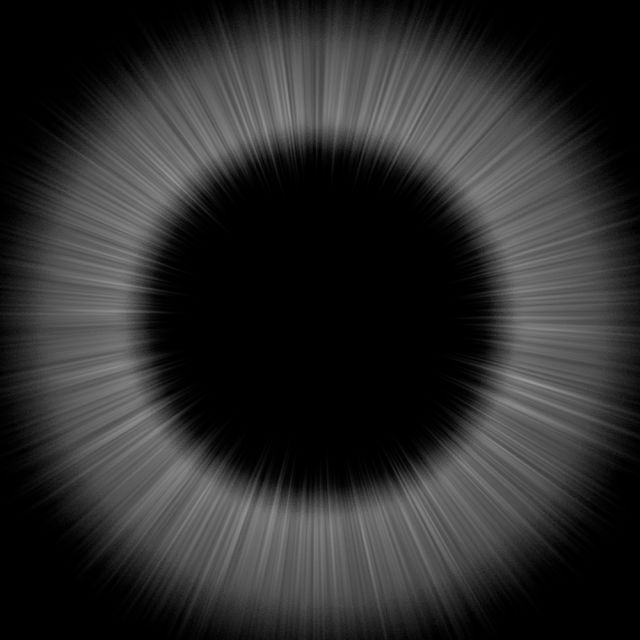
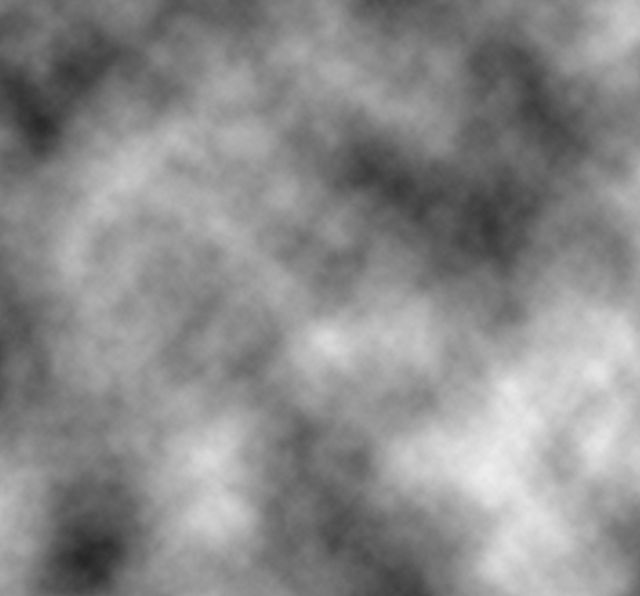
To do this, create a new layer & apply Filter, go to Render and then select Clouds.
Step – 13:
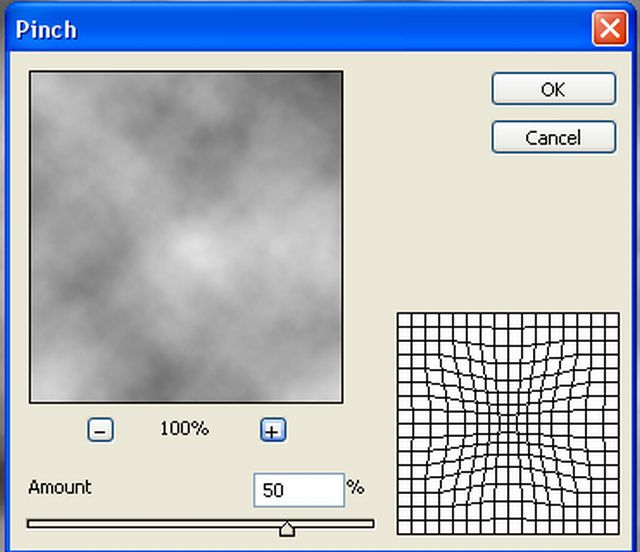
Then apply Filter > Distort > Pinch with next parameters.
Step – 14:
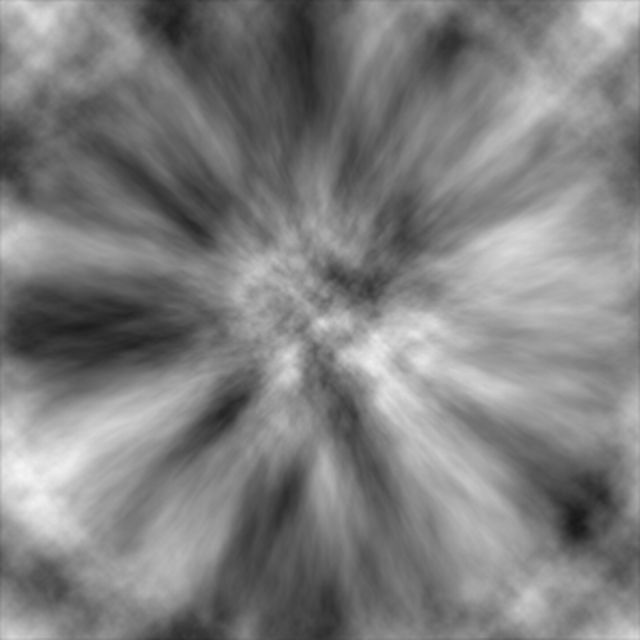
Now to increase this pinch filter effect twice, press / hold Ctrl+f two times.
You should have this effect now.
Step – 15:
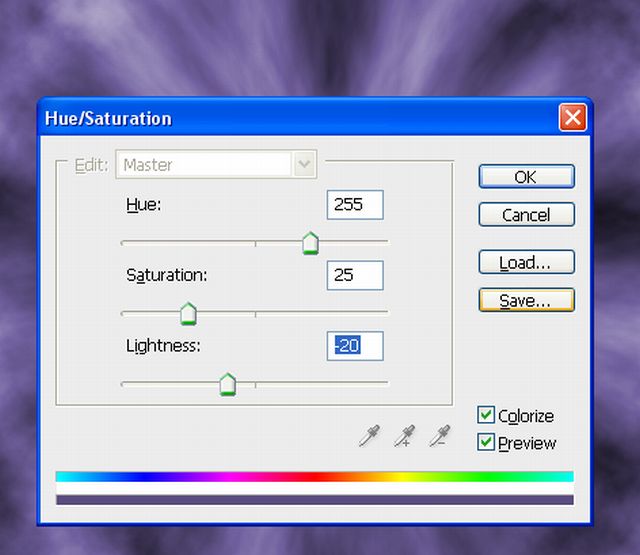
Let’s color this layer. Add adjustment layer by clicking Images >> Adjustments >> Hue/Saturation.
Apply settings as shown in the screenshot.
Step – 16:
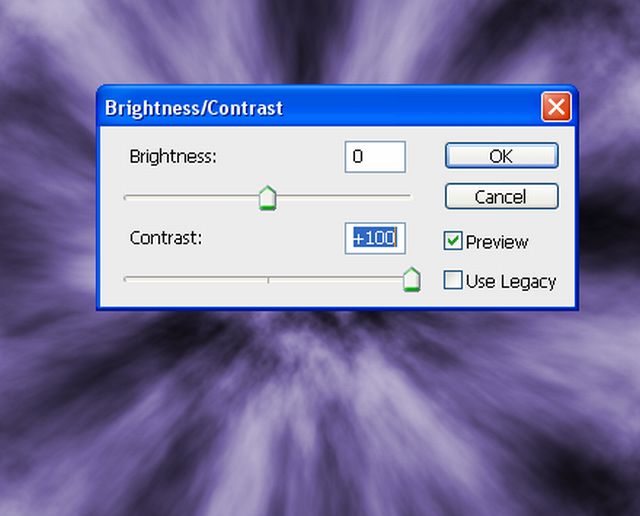
Select the cloud layer and increase the contrast by clicking Images >> Adjustments >> Brightness/Contrast and fill in the values as shown in the screenshot.
Step – 17:
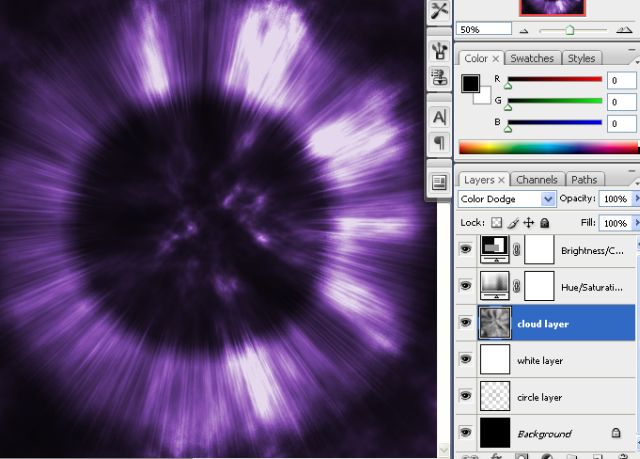
Change the mode of layer to Color Dodge. Then go to circle layer & reduce its opacity in layer palette to 50%.
You should have this effect till now.
Step – 18:
Lastly, create another new layer above circle layer & fill with white color. After that, set its opacity to 10%.
Your final image should look like this.

