Create an eerie evening effect on a normal image in Photoshop
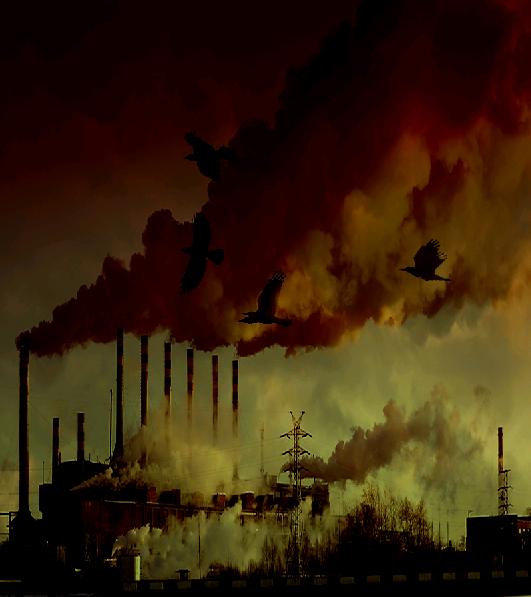
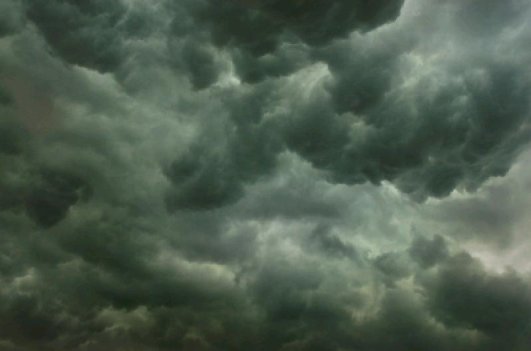
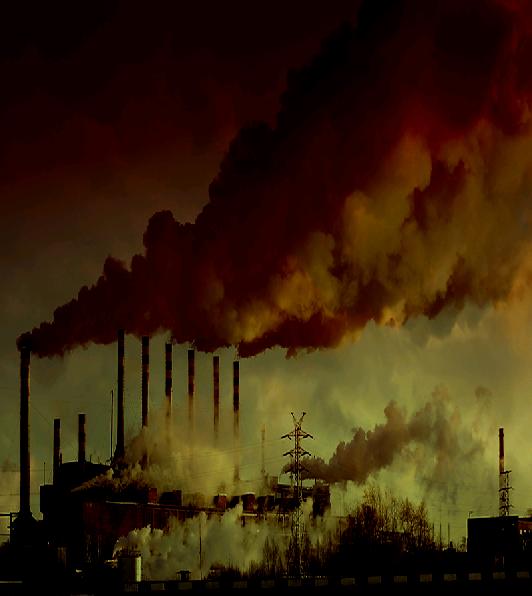
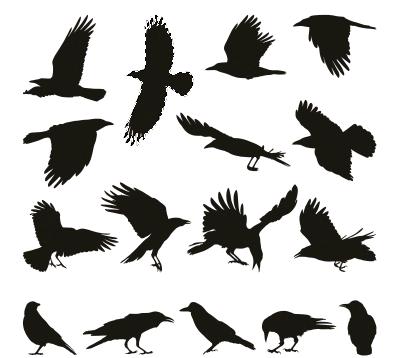
Hi people! Today we’re going to create an eerie evening effect on a normal industry image, very simple to do and great fun to experiment with. So let’s see the ingredients that we need for this effect; first of all a normal image (I’ve taken an image of a factory from bigstock), some birds (crows most suitably) and a picture of clouded sky or you can simple create clouds by going to Filter then to Render and then selecting clouds but here for this effect I’ve taken the picture instead.
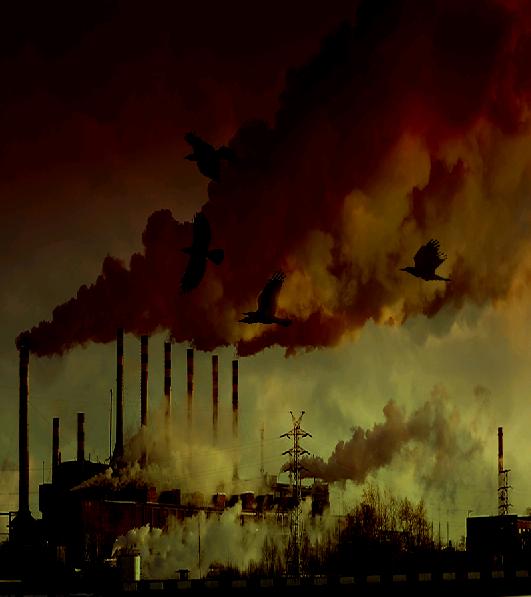
Let’s have a look at the final image before we start our fun.
Step1:-
Okay let’s get started by creating a fresh new document of size 800×900 pixels.
Step2:-
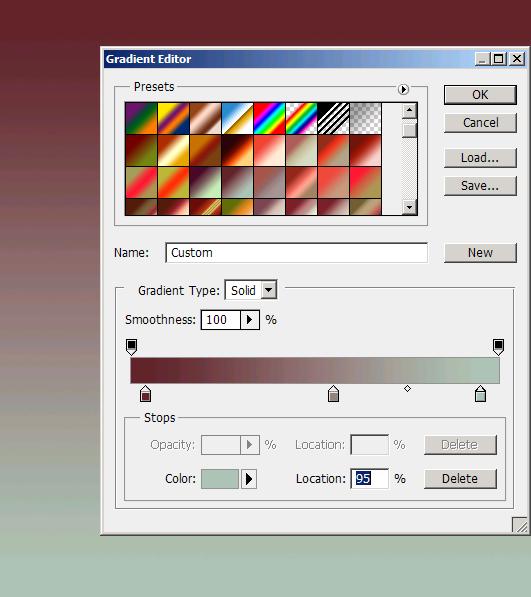
Fill this document with a gradient shown in the picture below with the color#61252d to color#95807e to color#abc2b2 (going left to right).
Step3:-
Now open up the clouds image and select the whole picture and copy it.
Step4:-
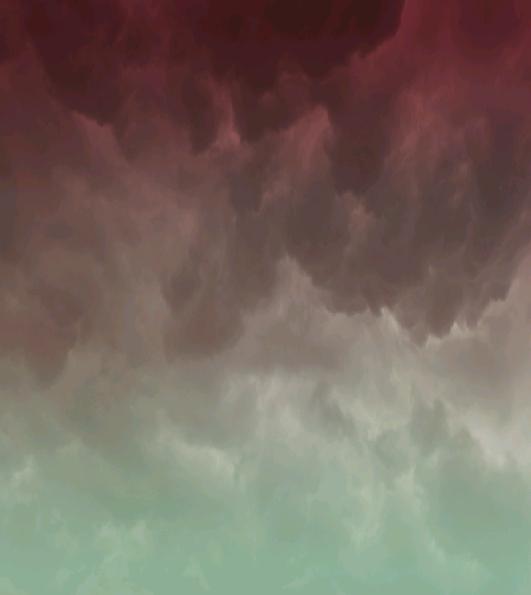
Paste the copied clouds image on our back ground. Resize the copied layer by pressing Ctrl+t. Name this layer as “clouds” and set the Blend Mode of this layer to Overlay. Reduce the Opacity to 53%.
Step5:-
Open the factory image and select the complete picture, go to Edit and click on copy.
Step6:-
Now paste the copied image on our working picture. Name it as “factory”. Set the Blend Mode of this layer to “Linear Burn” and leave the Opacity to 100%.
Step7:-
It’s time to add the birds so open up the image of crows and select one of them by using Quick Selection Tool, go to Edit and copy the selected bird.
Step8:-
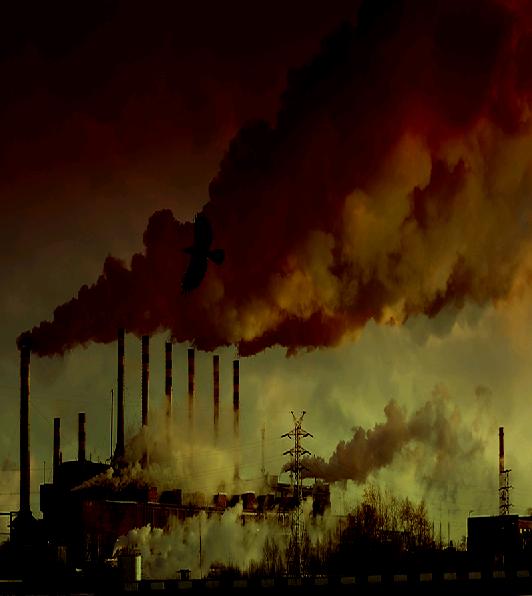
Now Paste the copied crow on our working image and place it by using Move Tool according to the picture shown below.
Step9:-
Now repeat the steps 7 and 8 and paste some more crows on our image according to the picture shown below to complete the eerie effect on our picture.
There you have it our very own eerie evening effect created in Photoshop. I hope you will use it to create your own cool images. I’ll be back with something fresh for you. Thanks for reading. Have fun, chao!

