How to turn your photos into colored sketch in Photoshop
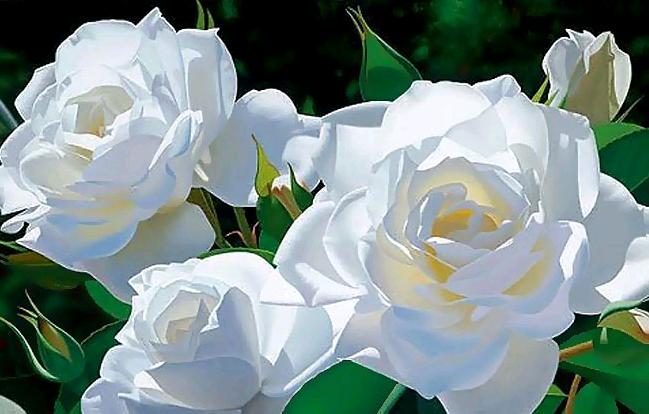
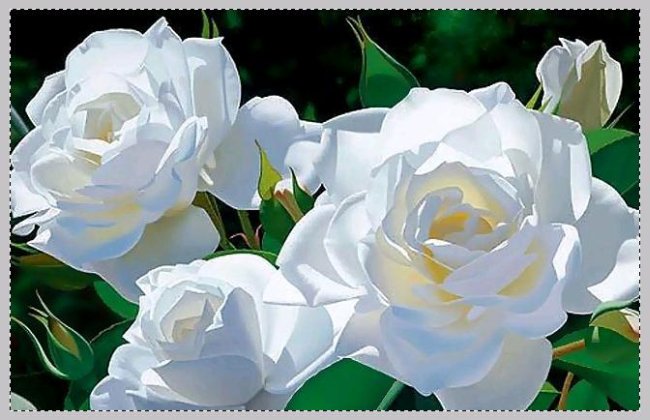
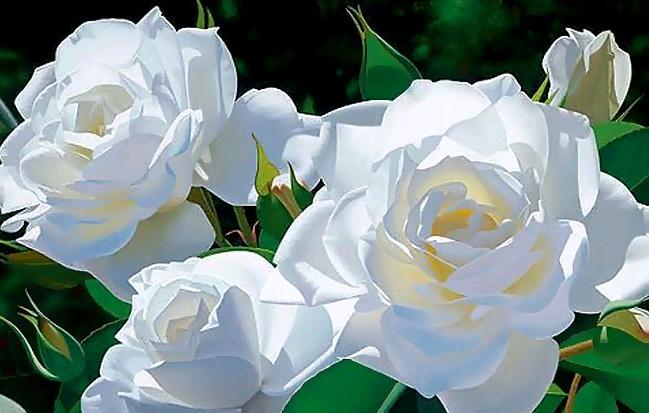
Hey friends! Today we’re going to learn a new trick in Photoshop and that is turning your photo images in to colored pencil sketches. It’s very easy to make and the results are amazing. Okay, let’s see what are the things we’re going to need for this effect? An image (of course), I’ve taken an image of white roses from Google images (all the rights are reserved to its owner) and with that our very own Photoshop.
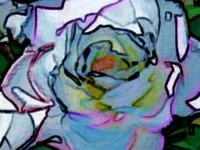
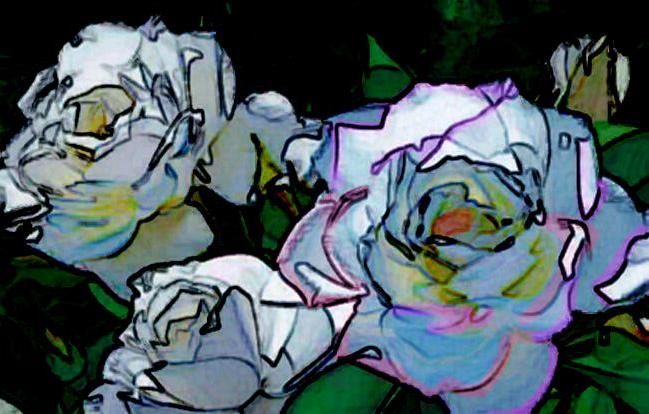
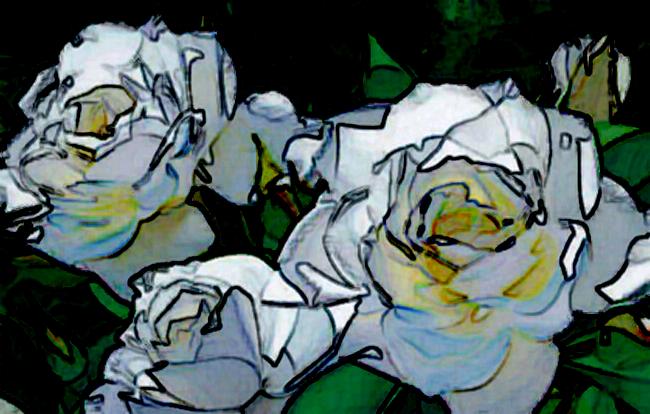
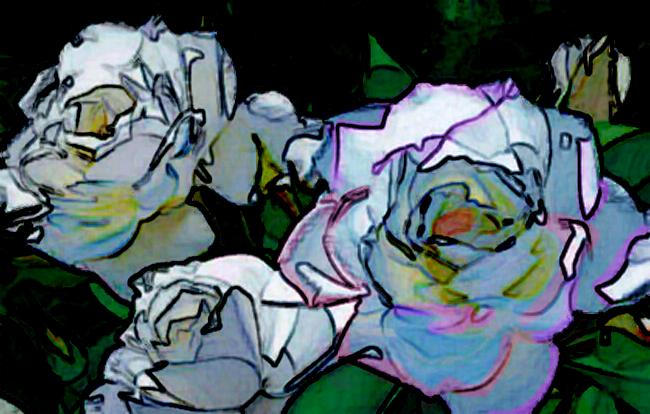
Do have a look at the finished image before we start our tutorial.
Step1:-
Open a new document of size 652×416 pixels and fill it with a gradient Black to grey (#oooooo to #363232).
Step2:-
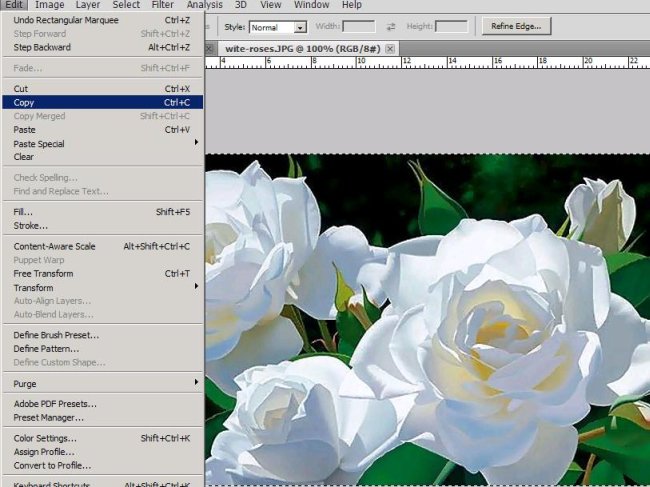
Open up the image of white roses and select the whole image using Rectangular Marquee Tool then go to Edit and click on copy.
Step3:-
Now paste the copied image of roses on our back ground.
Step4:-
Okay now again go to the original rose image (open it again if you’ve closed it before) and again select the complete Image using Rectangular Marquee Tool and copy it.
Step5:-
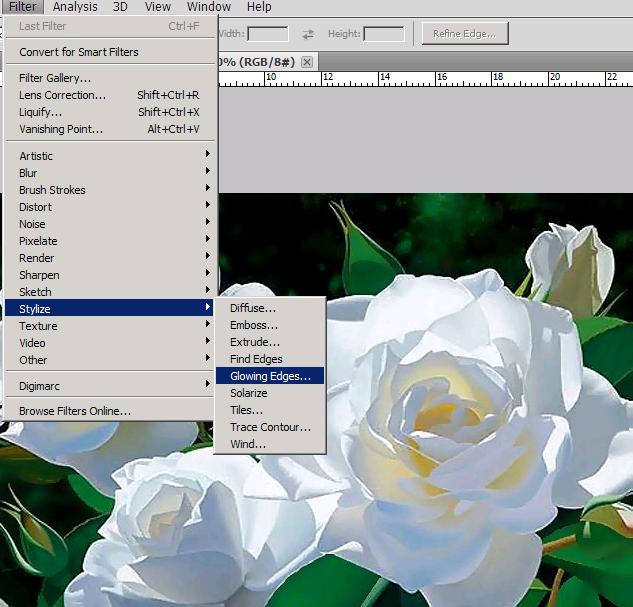
Again paste the copied image on our working image, name this layer as glowing roses. Go to Filter > Stylize > Glowing Edges.
Step6:-
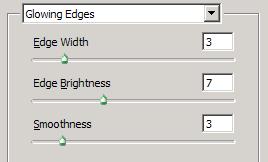
Set the Edges according to the picture shown below.
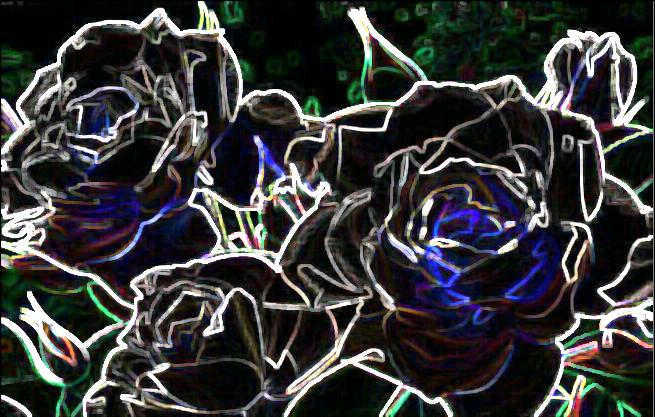
Now you should have something like the image shown below.
Step7:-
Set the Blend Mode of this layer to “Subtract” and leave the Opacity to 100%.
Step8:-
Here our sketch image is complete but I’ve experimented with this effect a bit further. So in this step we are going to add a bit of color in our sketch. For achieving that, hide the visibility of layer “glowing roses”.
Step9:-
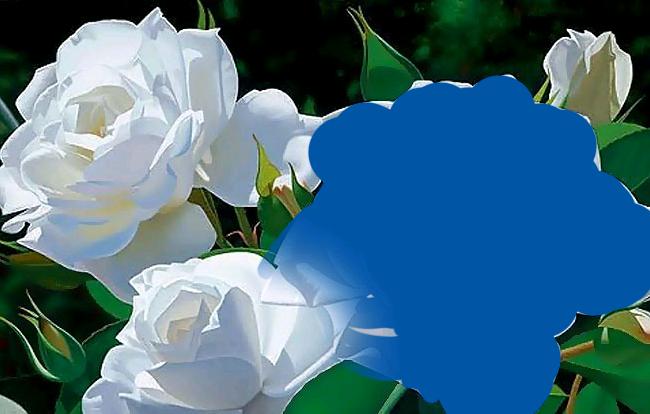
Okay now create a new layer and name it color blue. Pick up a hard round brush of size 78px and choose a color of your choice (I’ve select the blue color#0054a6) and paint over the flowers (I’ve just painted on the biggest rose to make it a bit different).
Step10:-
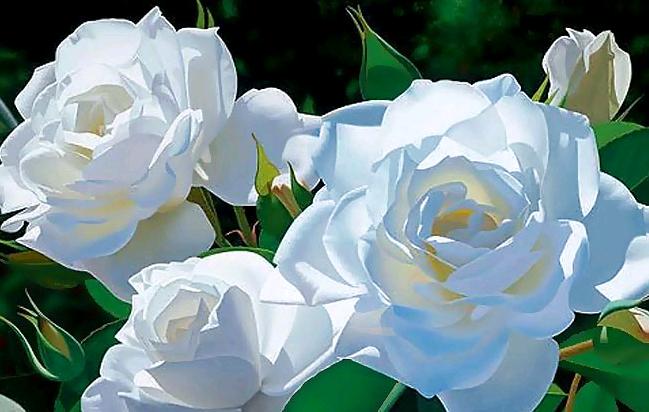
Set the Blend Mode of this layer to Overlay and reduce the Opacity to 34%. You should have an image similar to the picture shown below.
Step11:-
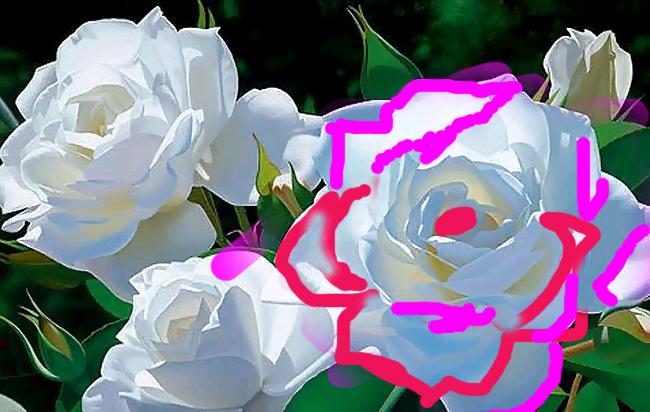
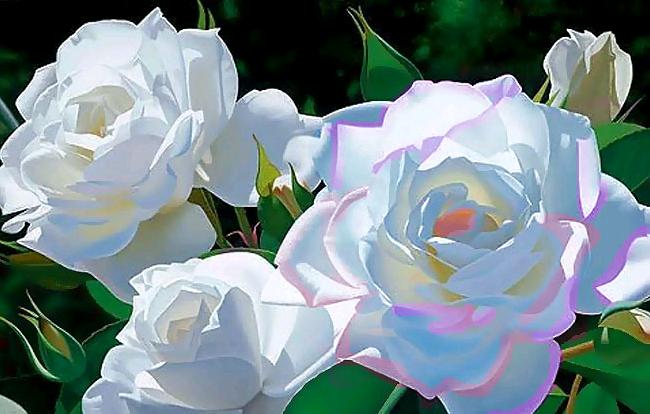
Now I want to add a bit more color to our big rose so I created a new layer and named it “pink ends”. I’ve select two shades of color bright pink #ff00ff and #ed145b, selected a hard round brush of size 18px and panted the ends of the petals (I’ve done it roughly but you can be more artistic with it ![]() ).
).
Step12:-
Set the Blend Mode of this layer to Color and reduce the Opacity to 35% and you will have an image similar to the one shown below.
Step13:-
Now un-hide the Glowing roses layer and you will have your colored sketch completed.
Hope you had fun. Play with colors Make your own combination and sketches. You can use people or other objects to experiment on and share your side of stories. I’ll be back with some new Photoshop effects or tricks, till than take care and be creative.

