Amazing Dark Eyes in Photoshop
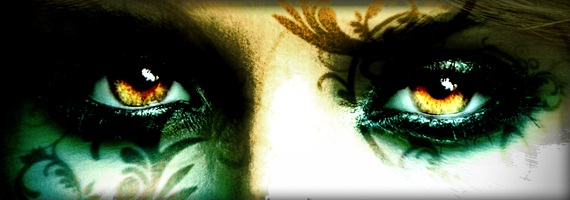
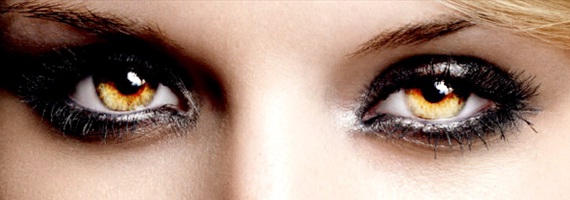
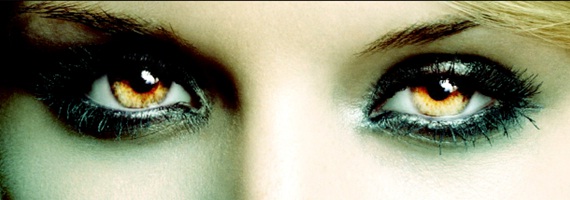
Fantasy Eyes artwork is very popular. In this tutorial, you would learn the basics of how to manipulate a simple photograph into a complex artwork. Enhance your Photoshop skills and let’s start now.
Step 1: Crop Tool
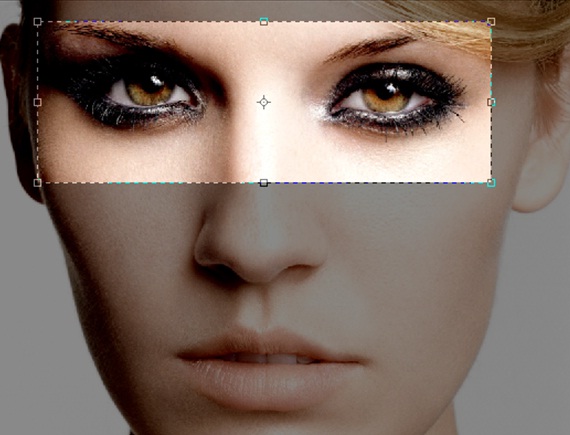
First of all, take any image you like to manipulate and select the eyes, using the crop tool.
Step 2: Feather
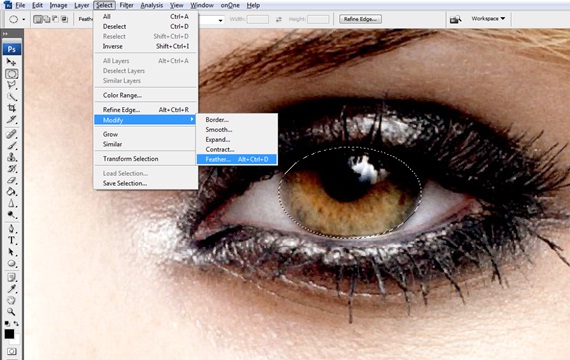
Use the Elliptical Marquee tool and make a selection around the eyes. Go to Select, Modify and select the Feather Option. Make sure the foreground color is set to white. Once the new window opens set the radius to 20px.
Step 3: Copy Paste
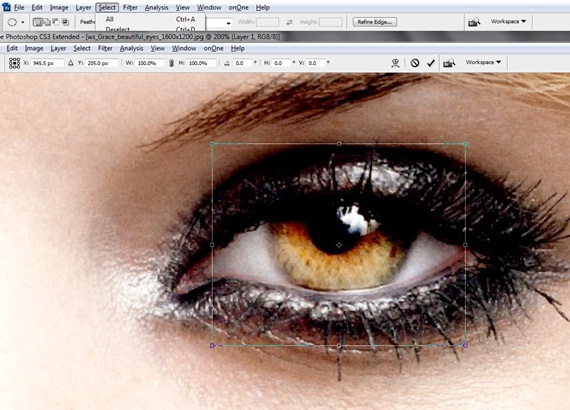
Once Feather has been applied, copy and paste the selection into three layers. Make sure the blending option is set to “Screen” instead of the default value.
Step 4: Complete Both Eyes
Follow the same steps for the other eye as well.
Step 5: Curves Adjustment
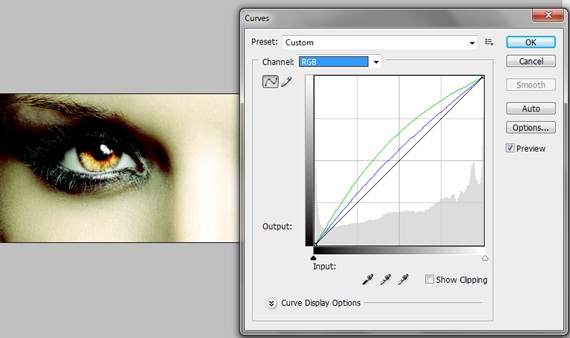
Now we move on to color correction. Go to Image, Adjustments and select Curves. Go to the green and blue channels separately and apply the curves as shown below.
Step 6: Levels Adjustment
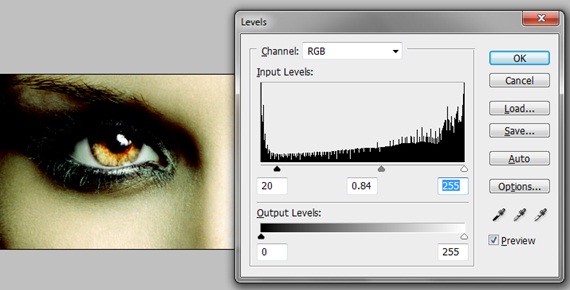
Similarly, again go to ‘Image’, ‘Adjustments’ and select the ‘Levels option’. Use the details shown below.
Step 7: New Layer
Now you need to create a new layer and add some color below the eyes. Use the brush tool with 0% hardness and use light blue color to fill up the area below the eyes.
Step 8: Output
Go to the blending options of the new layer, and change it from its default settings to Overlay.
Step 9: Vector Art
Now you need to add some vector art to the image. You can download the vector art according to your image and idea in mind.
Once you have downloaded the vector file, apply it randomly on the eyes. You can keep any design pattern you want.
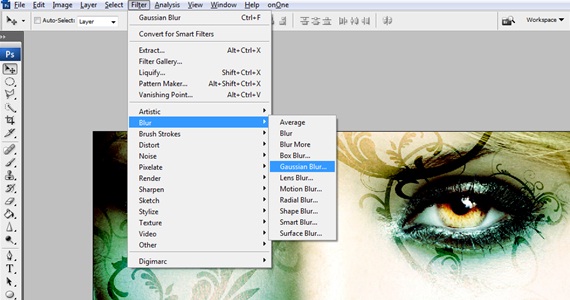
Step 10: Guassian Blur
Once done with the arrangement, duplicate all the layers and merge them into a single layer. Go to the blending options of that particular layer and change it to Color Burn. Once that is done, you would see both the images merge. Then go to Filter, Blur and apply the Guassian Blur effect with 2px radius.
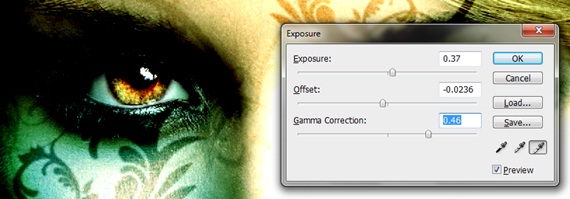
Step 11: Exposure
Go to Image, Adjustments and choose the Exposure tool. Once the new window opens, apply the following effects.
Step 12: Final Touches
Sharpen the image; add saturation by pressing CTRL U. Create a new layer and use the brush tool to paint around the borders with 0% hardness. Reduce the opacity of that layer. You can add as many filters, or effects as you like in this image.


