Try out different photo Effects and Fashion Shots
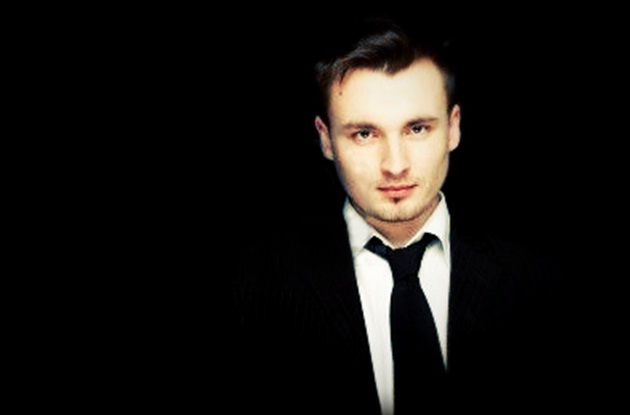
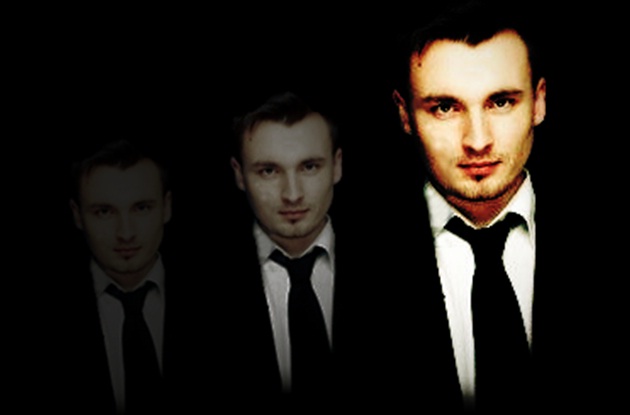
This particular tutorial allows you to enhance your Photoshop skills and use various effects to bring out an image. Below is the final result, which we hope to achieve.
Step 1: Choosing an Image
First of all, select an image, which you want to enhance and bring it on the canvas.
Step 2: Using the Crop Tool
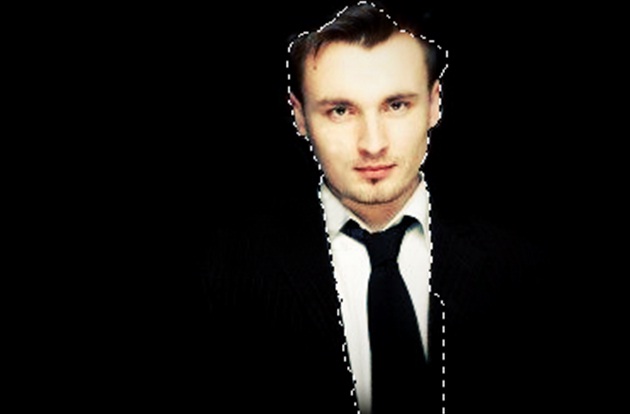
Simply use the quick selection tool for this image and crop out the model from the background.
Step 3: Duplicate, Duplicate, Duplicate
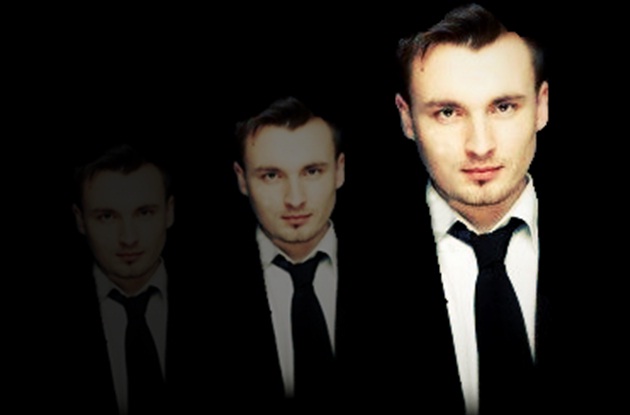
Now you simply have to copy the new layer and duplicate them as many times as you want. For this tutorial, we have duplicated it two times. Be sure to reduce the opacity of each duplicated layer. Position it wherever you want it on the canvas.
Step 4: Desaturate
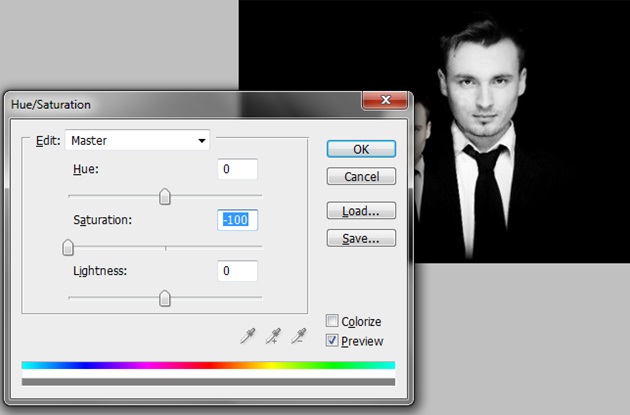
Once you are done with the arrangement, duplicate all the layers. Rasterize all the layers into one single layer and desaturate the layer. Simply press control (or CTRL) U. The following window would appear on the screen. Simply input the values displayed in the image below.
Step 5: Overlay
Position the desaturated layer over the top of your layers and go to the blending options. Choose the option of “Overlay” in the blending options instead of the normal default settings.
Step 6: Gaussian Blur
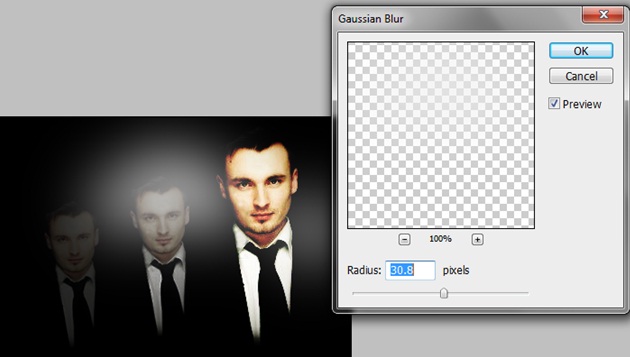
Now add a Gaussian blur effect to the image. Simply create a new layer and use the brush tool and randomly paint all over the canvas. Next go to Filter, Blur and choose the Gaussian Blur option. Use the pixels mentioned in the image below for your effect.
Step 7: Pen Tool
Create a new layer and use the pen tool to create lines and different patterns on the canvas. Once you are done with the pattern, choose the brush tool and set the 2px radius with 0% hardness. Choose the pen tool again, second click on the pattern and choose “Stroke Path”. Once the new window opens, select the brush option from the drop down menu and select okay. Once you have a particular pattern on the canvas, add as many effects as you want. Go to the layer style and use a particular gradient. Use the outer glow option to give it more depth.
Step 8: Ellipse Tool
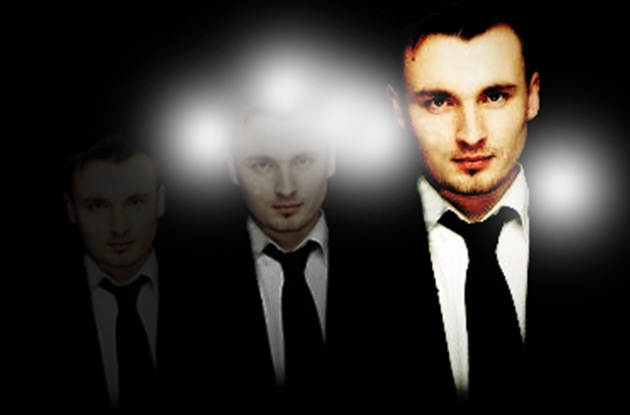
Now we use the ellipse tool to add more shapes and contribute to the overall design of the image. For this particular pattern, we have three circles as displayed in the image below.
Step 9: Adding to the Effects
Adding sharpness to the image is really important. From the Hue/Saturation option, increase the saturation of the image. Increase the contrast of the image and at the same time decrease the brightness. Use the blur effect on the borders of the canvas by adding a new layer and using the guassian blur to give depth to your canvas.
Step 10 : Pattern
Download any particular pattern to add to your image.
Step 11 : Merging the pattern
Desaturate the patterned layer and move it above all layers. Go to the blending option of that layer and choose “Overlay”. This would be what the final image looks like.


