how to Play with Textures, Colors and Effects to make inspiring designs in photoshop
Are you a fan of retro art? Now with the help of this particular tutorial, you can learn how to make the designs that inspire you. Here is a step by step guide on how to make artwork designs using basic shapes and playing with the background texture along with several Photoshop effects. The image displayed below is what we hope to achieve.
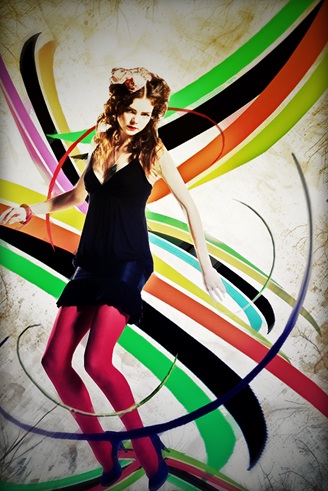
Step 1: Finding the Right Image
Once you have opened the Photoshop document, import any picture of a model in a new layer.
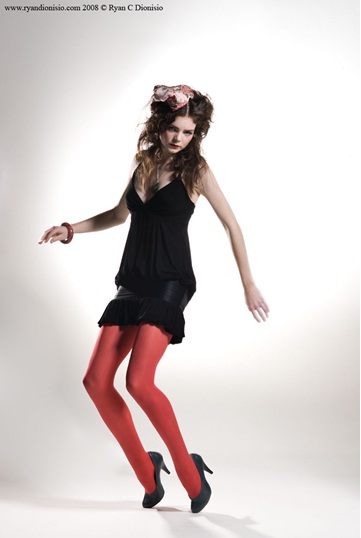
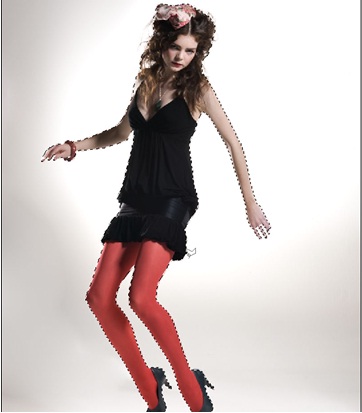
Step 2: Polygonal Lasso Tool
After that select the Polygonal Lasso Tool and make a detailed selection of the model. After you have made the selection, copy it into a new layer. This way, you would be separating the model and the background.
Step 3: Background Image
Now we need an interactive background image. For this purpose, we would be using the image displayed below. Select a background image that complements the overall theme you are wishing to create.
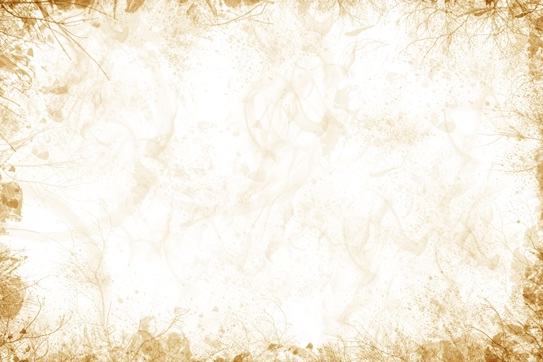
Step 4: Merging the Two
Once you have selected an image for the background, re-size it on your canvas and position the model as you want it to appear on the screen.
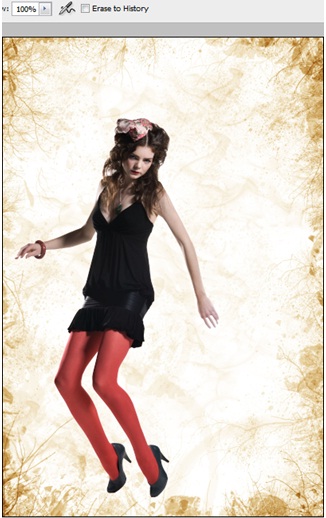
Step 5: Color Correction
Now we need to do a little color correction. For this purpose, we would be creating a new layer. Once the new layer is created, select the paint brush tool and random with 70% hardness and randomly use it over the model layer.
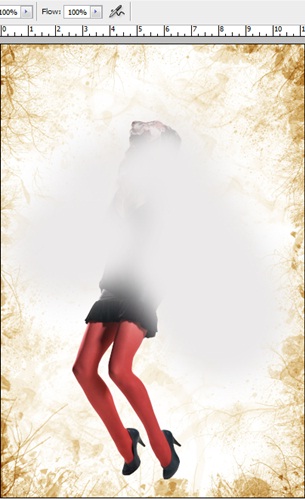
Step 6: Result
After that go to the blending options of that particular layer and choose “Overlay”. You would have somewhat of the following result once you have completed this process.
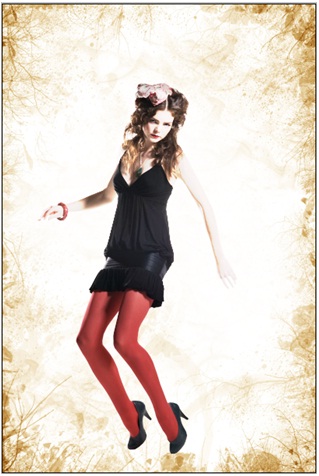
Step 7: Curvy Lines
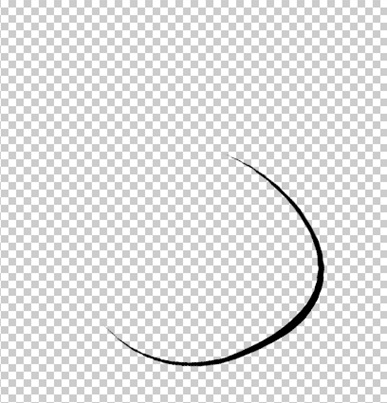
Once that is done, it is time to lay down the retro designs. First of all, pick up the pen tool and use it to make simple curves like shown in the image below.
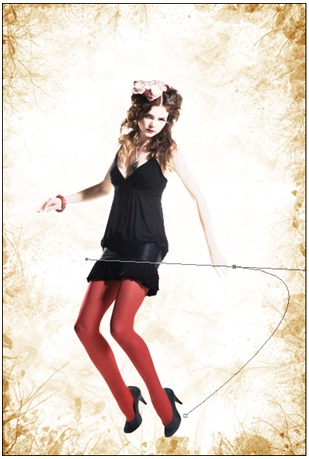
Step 8: Adding to the Details
Once that is done, select your brush tool and set the radius to 13px with 100% hardness. After that select your pen tool once again and go to the selection. Second click on the selection and choose the option “Stroke Path”. After that a new window would appear on the screen. From the drop down menu select “Brush” and tick the check box titled “Simulate Pressure”. After that click “OK”, and a line would cover your selection like displayed in the image below.
Step 9: Further Retro Designs
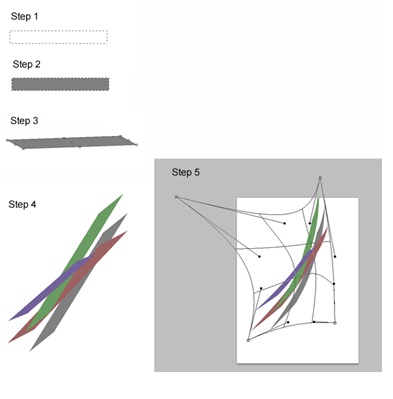
Once you are done with the curvy lines, it is time to add new design patterns to the theme. Simply use the rectangular marquee tool and make a simple selection on a new layer. Fill that selection with any color. Press control (or CTRL) T and click on distort. After that hold the Alt key and distort the image like shown in Step 3. Once the layer is completed, duplicate the layers as many times as you want. Resize all the layers and rotate them to form a specific design. After that merge all the layers into one and press control (or CTRL) T. Select on the warp tool and play with the designs. Make a particular pattern as shown in Step 5.
Step 10: Final Touches
Now you have both the curvy lines and the warped up rectangular designs. Now it is time to merge all the layers onto the canvas and play with the imagery. First of all, arrange the placements of the curvy lines on the image. After that introduce the rectangular on the canvas and arrange them in any way you like. Play with the contrast and saturation of the image a little to add to the color. Use different colors for the background texture and rectangular designs. Once that is done, duplicate all layers. Select all the duplicated layers and merge them into one single layer. After that go to the filter gallery and apply the “Crosshatch” Filter under “Brush Stokes”. After that, reduce the opacity of that layer to 25%. You can use any other filters and effects you want.


