
Learn how to create clouds and rainbow
In this tutorial we’ll create some cute 3d clouds and rainbow and decorate these with lots of stardust. We’ll use some really fun techniques to create this so before we start we need to get the stardust brush set.
Preview:-

Step 1:-
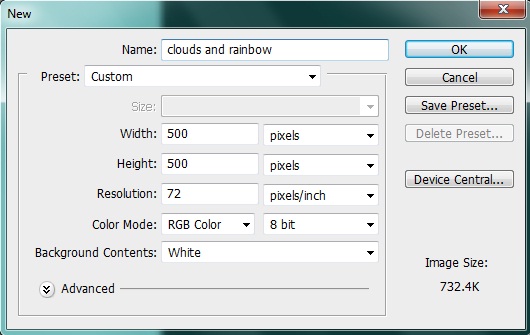
Create a new file with 500px width and 500 px height.
Step 2:-
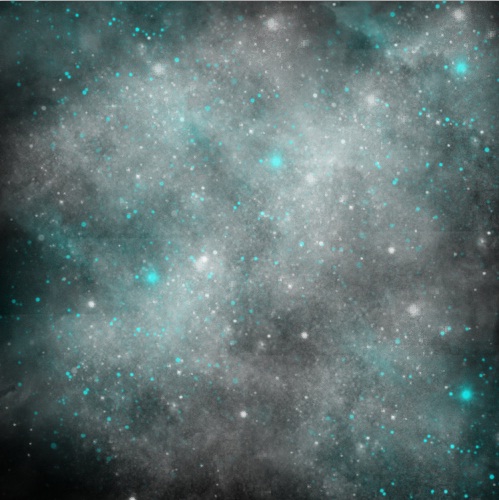
Select the “paint bucket tool” and fill the background with # 000000.

Step 3:-
Create a new layer. For this click on Layer> New> Layer. Now select some nice star dust brushes and use them randomly with colors # 16caca and # ffffff.
Step 4:-
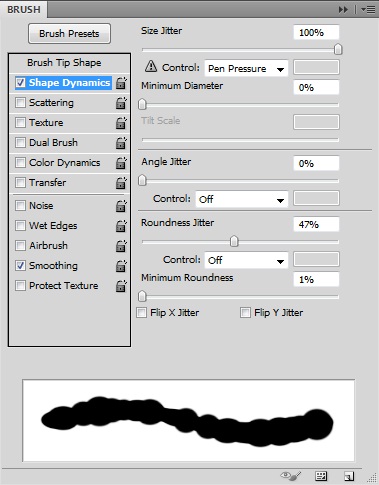
Now create a new layer again. And then select the “Brush Tool” and select “Hard round brush” with 35px size and # ffffff as foreground color. Then open the brush panel and click on “Shape dynamics”. Keep the setting same as the image below.
Step 5:-
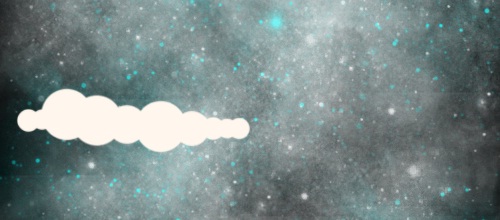
Now use the brush in a line on the left side.
Step 6:-
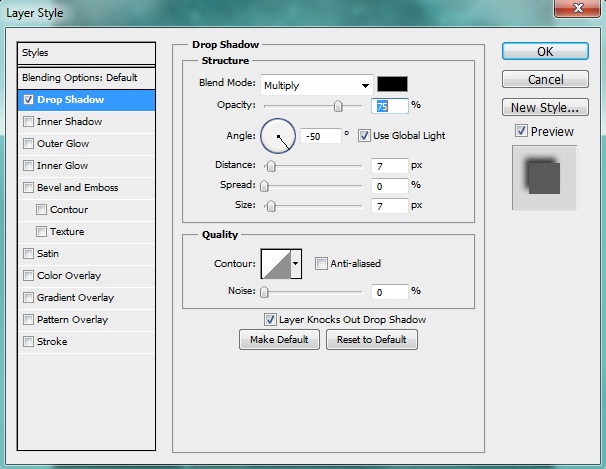
Now click on layer> Layer style> Drop shadow. And add drop shadow to our cloud.
Step 7:-
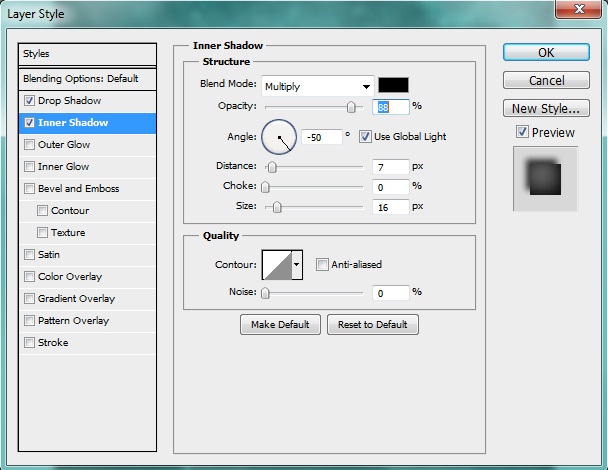
Click on layer> Layer style> Inner shadow. And add inner shadow to it.
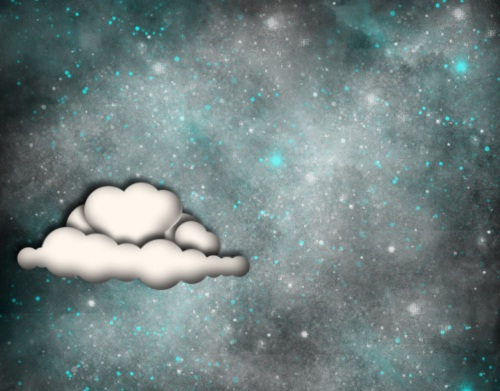
Step 8:-
Now repeat the same process and complete the clouds.
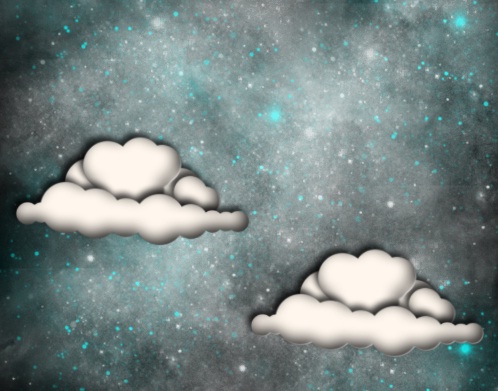
Step 9:-
Now we need to duplicate the cloud layers. So group these layers and then right click on the group and select “Duplicate group”. Then click on move tool and place it on the right site.
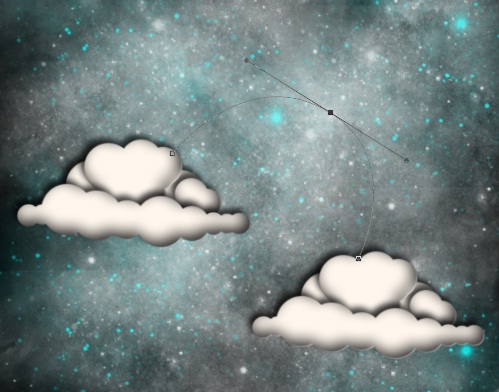
Step 10:-
Select the “Pen Tool” and create a curve path between our clouds.
Step 11:-
Now click the “Brush Tool” and select “Hard round brush” and change the foreground color to # 00aeef. And then right click on the path and click on “Stroke path”.

Step 12:-
Now repeat the same process and add more color to our rainbow. Reduce the opacity to 85%. Now if you want you add some stars to our rainbow. And we are done. Let’s have a look at our final result.


