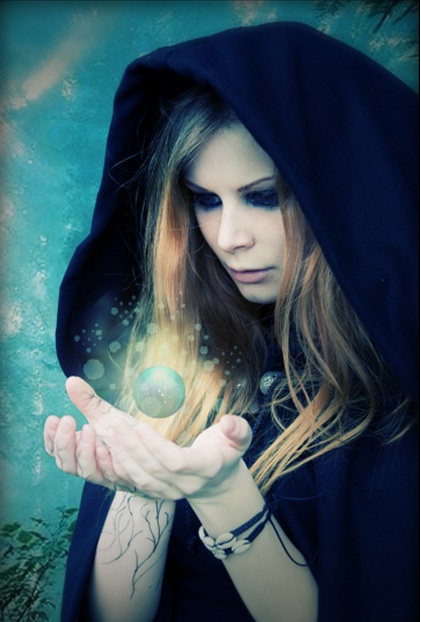
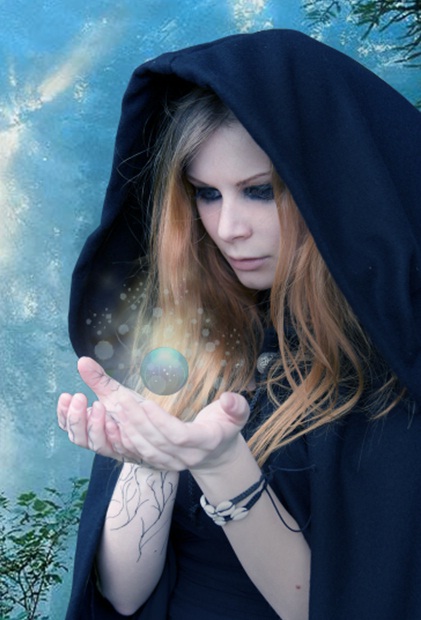
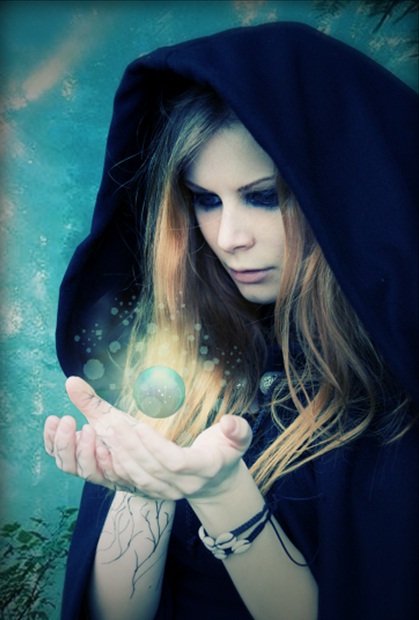
Learn How to do Sorceress Photo Manipulation
In this tutorial you would learn how to take a simple image and manipulate it, changing the looks completely using various effects and image manipulation techniques.
Step 1: Let’s Start With The Basics
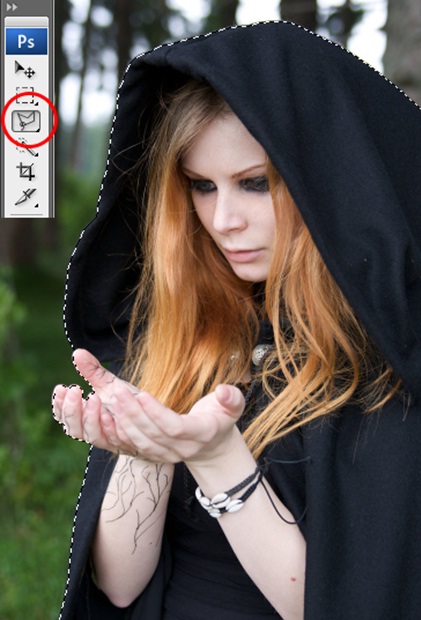
First of all, select a suitable image, which you would like to manipulate. I have selected the image displayed below for this particular tutorial. We would start with editing this image.
Step 2: Lasso Tool
Using the polygonal lasso tool crop the sorceress and make it into a separate layer. This way, you would have one layer of the background and one layer of the sorceress.
Step 3: Background Image
Next up, we would require a background image. For this particular tutorial, we would be using the image displayed below.
Step 4: Adjusting the Background Image
Your next task is to adjust the image in the canvas. You can either resize the complete image using control +T (or CTRL), or simply use a particular portion of the image without resizing it like shown below. After you are satisfied with your placement select the paint tool, choose the color black and set the opacity of the tool to 30%. After that brush all over the layer to darken the image slightly. This would come useful later on while blending the two images together.
Step 5: Merging the layers
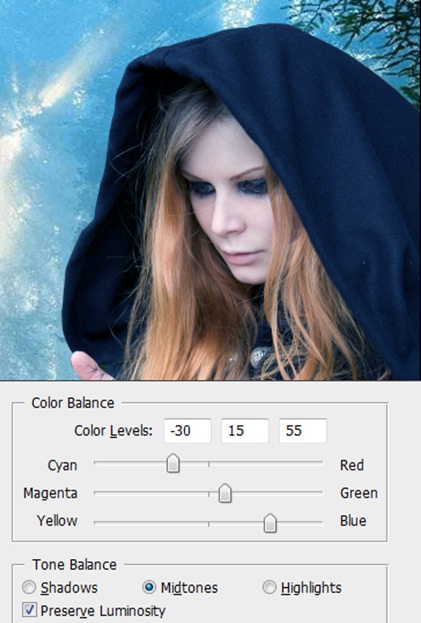
Once you are done with your background it is time to merge the image of the sorceress with the background. For this purpose, go to “Image” and then “Adjustments” and select on “Color Balance”. Once the new window pops up, use the followings settings displayed below to balance out the image. Once you are done, the image should look something like this.
Step 6: Magic Orb
After that we would need an image of an orb. For this particular tutorial, I am using the orb displayed below.
Step 7: Magic Orb Selection
Now we would make the selection of the orb in order to merge it with the overall image.
Step 8: Merging with the Image and Decreasing Brightness
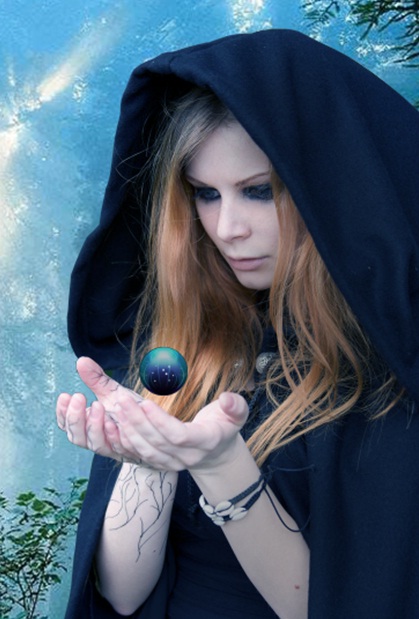
Once you have included the cropped orb image in the canvas, make a new layer and select the paint brush. On both the layers (the one in which you have your sorceress and the one in which you have the orb) use your brush strokes (using 30% opacity) to darken the images and blend it with the background. Once you are done, the final image should look something like this.
Step 9: Orb Effects
Now we need to make effects for the orb. For this reason first make a new layer. Then select the brush tool once again and select white color (#ffffff). After that set the opacity to 30% and slightly stroke the brush around the orb to give it a little glow. After that go to the brushes and select the “Wet Media Brushes”. Once there, select the rough dry brush and apply it to the surrounding area of the orb. This would allow you to make an aura effect. You can play with many other effects and be as much creative as you want. You can even download various other brushes for this purpose.
Step 10: Final Touches
Once you are done with the basic image, it is time to get done with some effects. First of all, you would need to go to Filter, Blur and select the Lens Blur option. Once the new window is opened, use the following settings on each of the layers separately (including background, sorceress and orb). After that select a new layer and cover the entire layer with a radius gradient transforming from black (on the borders) to white. Once that is done, place that layer right on the top and reduce the opacity of that layer to 40%. Once you are done with that, you would have something along these lines on your canvas. Feel free to play around with various effects.


